How To Make Coffee In A Moka Pot
Are you ready to start your day with a burst of flavor in your cup? Then brace yourself for an exciting journey as you learn how to become your own barista right at home. This guide will help you master the art of making a perfect cup of coffee using a Moka pot. Discover the secrets behind infusing those rich coffee notes into your daily brew with a magical touch. Buckle up, this isn’t an ordinary cup of joe, this is coffee craftsmanship in the making!
Understanding What a Moka Pot Is
A Moka Pot is a traditional coffee brewing device that originated from Italy. Its unique and elegant design has made it a popular choice for coffee enthusiasts seeking to enjoy high-quality, espresso-style coffee at home.
Origin of the Moka Pot
The Moka Pot was invented in the 1930s by an Italian engineer named Alfonso Bialetti. It was named after the city of Moka in Yemen, which was famous for its high-quality coffee. Today, the Moka Pot remains a symbol of Italian coffee culture and a regular fixture in many kitchens worldwide.
Main components of a Moka Pot
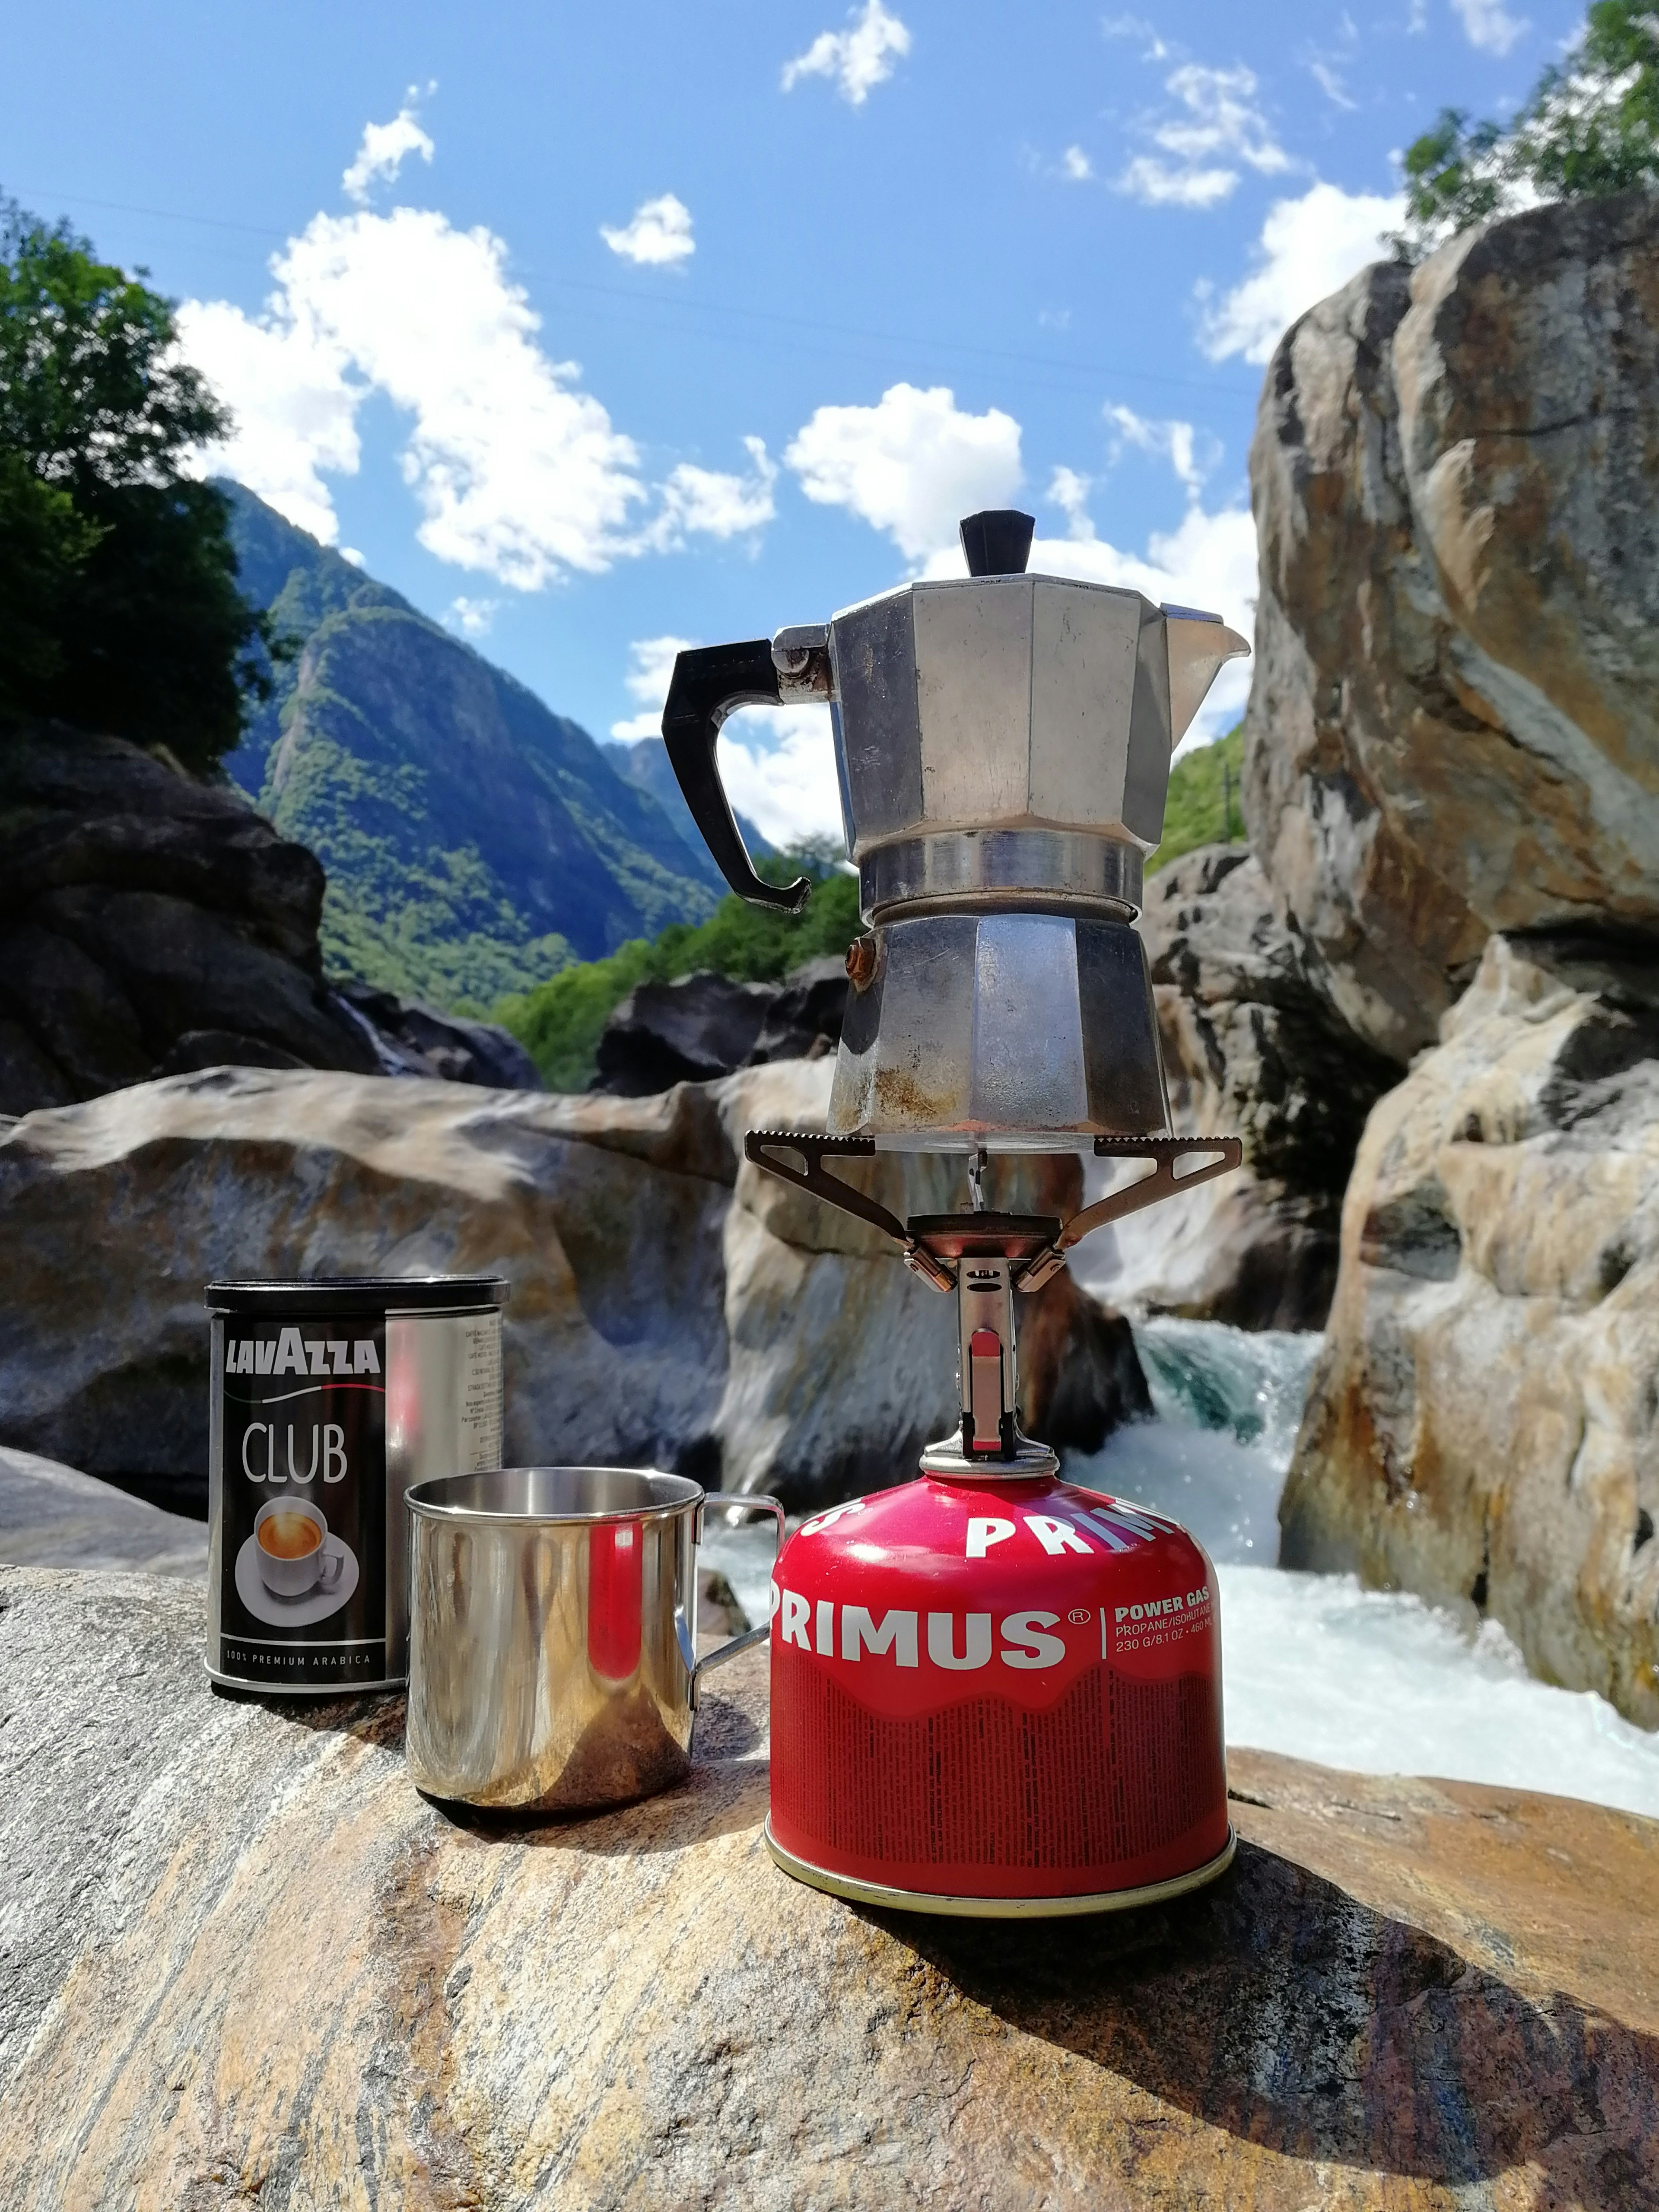
A typical Moka Pot consists of three main parts: the bottom chamber or boiler that holds the water, the middle chamber or funnel that holds the ground coffee, and the top chamber or collector where the brewed coffee ends up. The process of making coffee with a Moka Pot involves heating the water in the bottom chamber which creates pressure. The pressure forces the water up through the coffee-filled funnel and into the top chamber.
Different sizes of Moka Pots
Moka Pots are available in different sizes, from 1-cup versions to large 12-cup versions. The size you need depends on your coffee requirements. A standard serving size is typically considered 30-50ml. Keep in mind that the size refers to espresso cup sizes, not regular coffee cup sizes.
Types of Coffee Beans suitable for Moka Pot
The type of coffee beans you use can significantly influence the taste of your brew. It’s essential to choose the right kind for your Moka Pot.
Dark roast vs light roast
Generally speaking, dark roast beans are more suitable for Moka Pot coffee. The high pressure and heat used in a Moka Pot can easily over-extract lighter roasts, leading to a bitter taste. On the other hand, dark roasts have a robust and strong flavor that can withstand the brewing process better.
Whole beans vs ground coffee
Using freshly ground beans can give you the freshest, most aromatic coffee. If possible, grind your own beans just before brewing. If that’s not an option, you can also use pre-ground coffee. Just make sure it’s a fresh packet to keep the taste intact.
Best grind size for Moka pot
The grind size for a Moka Pot should be medium-fine – coarser than for espresso but finer than for drip coffee. If the grind is too coarse, water will flow through too quickly, resulting in weak and under-extracted coffee. If the grind is too fine, it can clog the filter or make the pressure too high, leading to over-extraction and a bitter taste.
This image is property of images.unsplash.com.
Preliminary Steps Before Brewing
Inspecting your Moka Pot
Before you start brewing, it’s essential to inspect your Moka Pot to ensure it’s in good condition. Check the pot for any cracks or dents that might affect its functionality. Make sure the safety valve on the bottom chamber isn’t blocked, and that the gasket and filter in the funnel are clean and fit correctly.
Cleaning your Moka Pot
Cleaning your Moka Pot is also crucial. A thorough clean before brewing ensures that no old coffee residue affects your brew’s taste and quality. It’s best to clean your Moka Pot after every use. Just make sure to avoid using soap or harsh detergents as these can damage the aluminum material.
Heating the water
Contrarily to popular belief, using already hot water in your Moka Pot can improve the taste of your coffee. By doing so, you decrease the time the Moka Pot needs to stay on the stove, preventing the risk of overheating the coffee grounds, which can result in a bitter taste.
Filling the Moka Pot with Water
When it comes to water, precision is key. The amount of water you use will directly affect your coffee’s strength and taste.
How much water to use
You should fill the bottom chamber with water up to the safety valve or just below it. Overfilling it can increase pressure to unsafe levels, while underfilling it can result in a weak, under-extracted coffee.
Importance of water temperature
Starting with hot water can make a considerable difference. While cold water requires more time to heat on the stove, increasing the risk of over-extracting the coffee, hot water will speed up the brewing process.
Avoiding overfilling or underfilling
Correctly filling the bottom chamber is crucial. Overfilling it can result in water spilling over into the coffee ground compartment, diluting the brew, while underfilling can produce a weak and under-extracted coffee.
This image is property of images.unsplash.com.
Adding the Coffee to the Moka Pot
Getting the coffee right is the key to a delicious brew. Ensuring that you have the correct amount, it’s evenly spread and not over-packed, will help you accomplish that.
Determining the right amount of coffee
The amount of coffee to use will depend on the size of your Moka Pot. A general rule of thumb is to fill the coffee funnel until it’s full, without any coffee spilling over the edges.
Importance of evenly spreading the coffee
Evenly distributing the coffee in the funnel is crucial to proper extraction. If there are gaps or if the coffee is unevenly distributed, water may go through more quickly in some areas, leading to under-extraction.
Avoiding over-packing the coffee
While it may be tempting to pack the coffee tightly to get a stronger brew, this can actually backfire. Over-packing can clog the pot, making it harder for the water to pass through the coffee and resulting in very slow brewing and potential over-extraction.
Assembling the Moka Pot
Once you have your coffee grounds in the funnel and your water in the bottom chamber, it’s time to assemble your Moka Pot.
Securing the coffee chamber
First, carefully insert the funnel into the bottom chamber, making sure it’s fully inserted and secure. It’s essential to ensure that no coffee grounds are on the rim of the bottom chamber or the funnel, as this could prevent proper sealing.
Attaching the top chamber
Next, screw the top chamber onto the bottom chamber. Be sure to hold the bottom chamber with a towel or oven mitt to avoid burning yourself if you heated the water beforehand.
Importance of proper assembly
Proper assembly is crucial to ensure safety and optimal brewing. If the pot is not correctly assembled, it can leak or, in the worst scenario, blow off steam dangerously.

This image is property of images.unsplash.com.
Stovetop Temperature for Brewing
Brewing coffee in a Moka Pot isn’t just about the coffee and water – the heat you use to brew is crucial to the result.
Controlling the heat
Control is key when adjusting the heat. Too high, and you risk burning the coffee and creating a metallic taste. Too low, and the water might not rise through the coffee effectively, resulting in a weak brew.
Understanding what the right temperature is
The ideal temperature for brewing coffee in a Moka Pot is medium to low heat. You want the water in the bottom chamber to heat up and the pressure to build, gradually forcing the water up through the coffee and into the top chamber.
Effects of high and low temperatures
High heat can cause over-extraction, which can give your coffee a bitter and metallic taste. On the other hand, low heat might not provide enough pressure to push the water through the coffee, resulting in an under-extracted and weak brew.
Monitoring the Brewing Process
Keep a close eye on your Moka Pot during brewing. Observing the process can help you identify when the coffee starts to brew and when it’s done.
Recognizing when the brewing starts
The brewing process begins when you see coffee starting to splurt into the top chamber. You’ll also hear a bubbling sound – that’s the sound of the pressure building and the water being pushed through the coffee.
Listening to the sound the Moka Pot makes
The Moka Pot will make a gurgling sound during brewing. This sound gets louder near the end of the brewing process. When the sound becomes a puffing or hissing noise, it’s time to remove the Moka Pot from the heat.
Telling when brewing is done
Brewing is done when the top chamber is filled with coffee, and the sound fades from a gurgle to a gentle hissing. At this point, you should immediately remove it from the heat to avoid over-extraction.
Serving the Coffee
Once your coffee is brewed, it’s time to serve it. But there’s a little bit more to it than just pouring it into a cup.
Ensuring even mixture
Before serving the coffee, it’s good practice to stir it with a spoon in the top chamber. This will mix the first, stronger coffee that entered the chamber with the lighter, more aromatic coffee that came in later, resulting in a more balanced taste.
Pouring the coffee
To serve, pour the coffee immediately into your cup. Moka pot coffee is best enjoyed straight away while it’s still hot and the flavors are at their peak.
Drinking temperature
Traditionally, Moka pot coffee is served at a temperature slightly cooler than that of regular coffee. So, give it a bit to cool down before taking the first sip.
Cleaning and Storing the Moka Pot
Good maintenance is the key to longevity for your Moka Pot. With proper cleaning and storage, your Moka Pot will always be ready to brew an excellent cup of coffee.
Cleaning right after use
Cleaning your Moka Pot right after use is essential. Rinse it with warm water, ensuring that there’s no coffee residue left, and clean the funnel, gasket, and filter plate to prevent any build-up.
Disassembling for cleaning
Disassembling your Moka Pot for cleaning is an important step. Remove the gasket and the filter plate and clean these parts separately. This will ensure no old coffee oils are left that could influence the flavor of your next brew.
Drying and storing correctly
After cleaning, make sure to dry it completely before storing it to prevent rust or mold. It’s best to store your Moka Pot disassembled, with the pieces separated from each other.
Maintenance tips
A final tip is to periodically check the rubber gasket and the safety valve. If the gasket looks worn or cracked, it’s time to replace it. The safety valve should be clear of any obstruction to function properly.
In conclusion, brewing coffee in a Moka Pot may seem complicated at first, but once you get the hang of it, you’ll be rewarded with a rich and full-bodied cup of coffee. Enjoy the process, experiment a bit, and find what works best for your taste buds. Your perfect cup of coffee is just a few steps away!


